Smoker Setup Lesson
Kettle Grill Setup
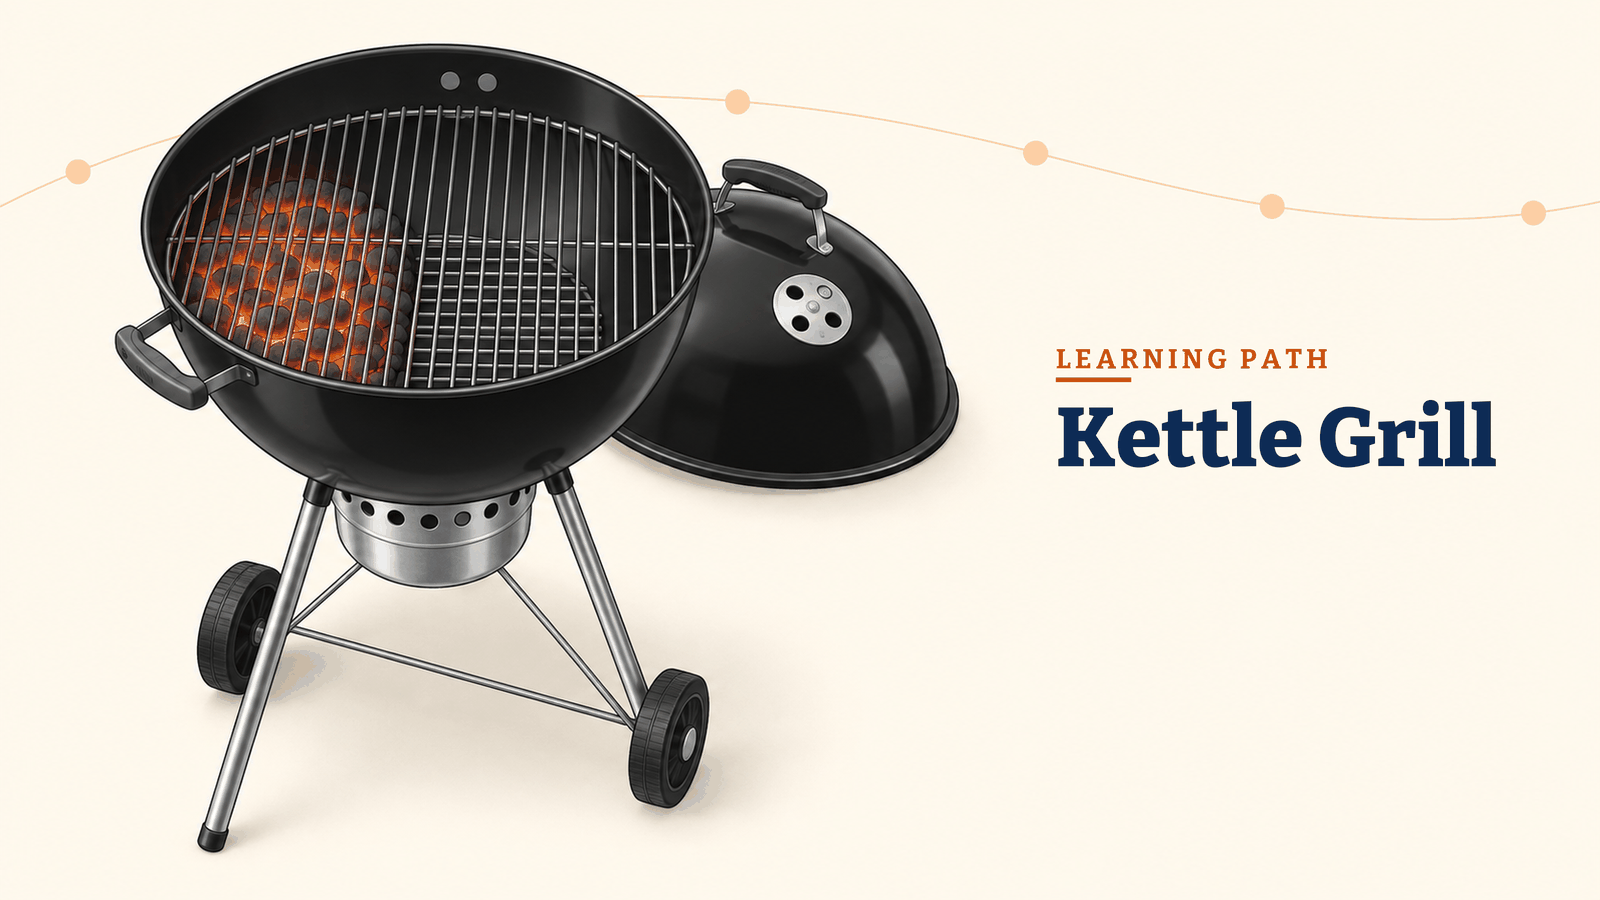
The kettle grill is one of the most versatile pits available. Learn how to configure it for low-and-slow smoking, indirect cooking, and direct searing.
LevelBeginner
Learning PathSmoker Setup
Lesson14 of 24
Key Concepts
- Two-zone charcoal setup: all coals on one side, food on the other
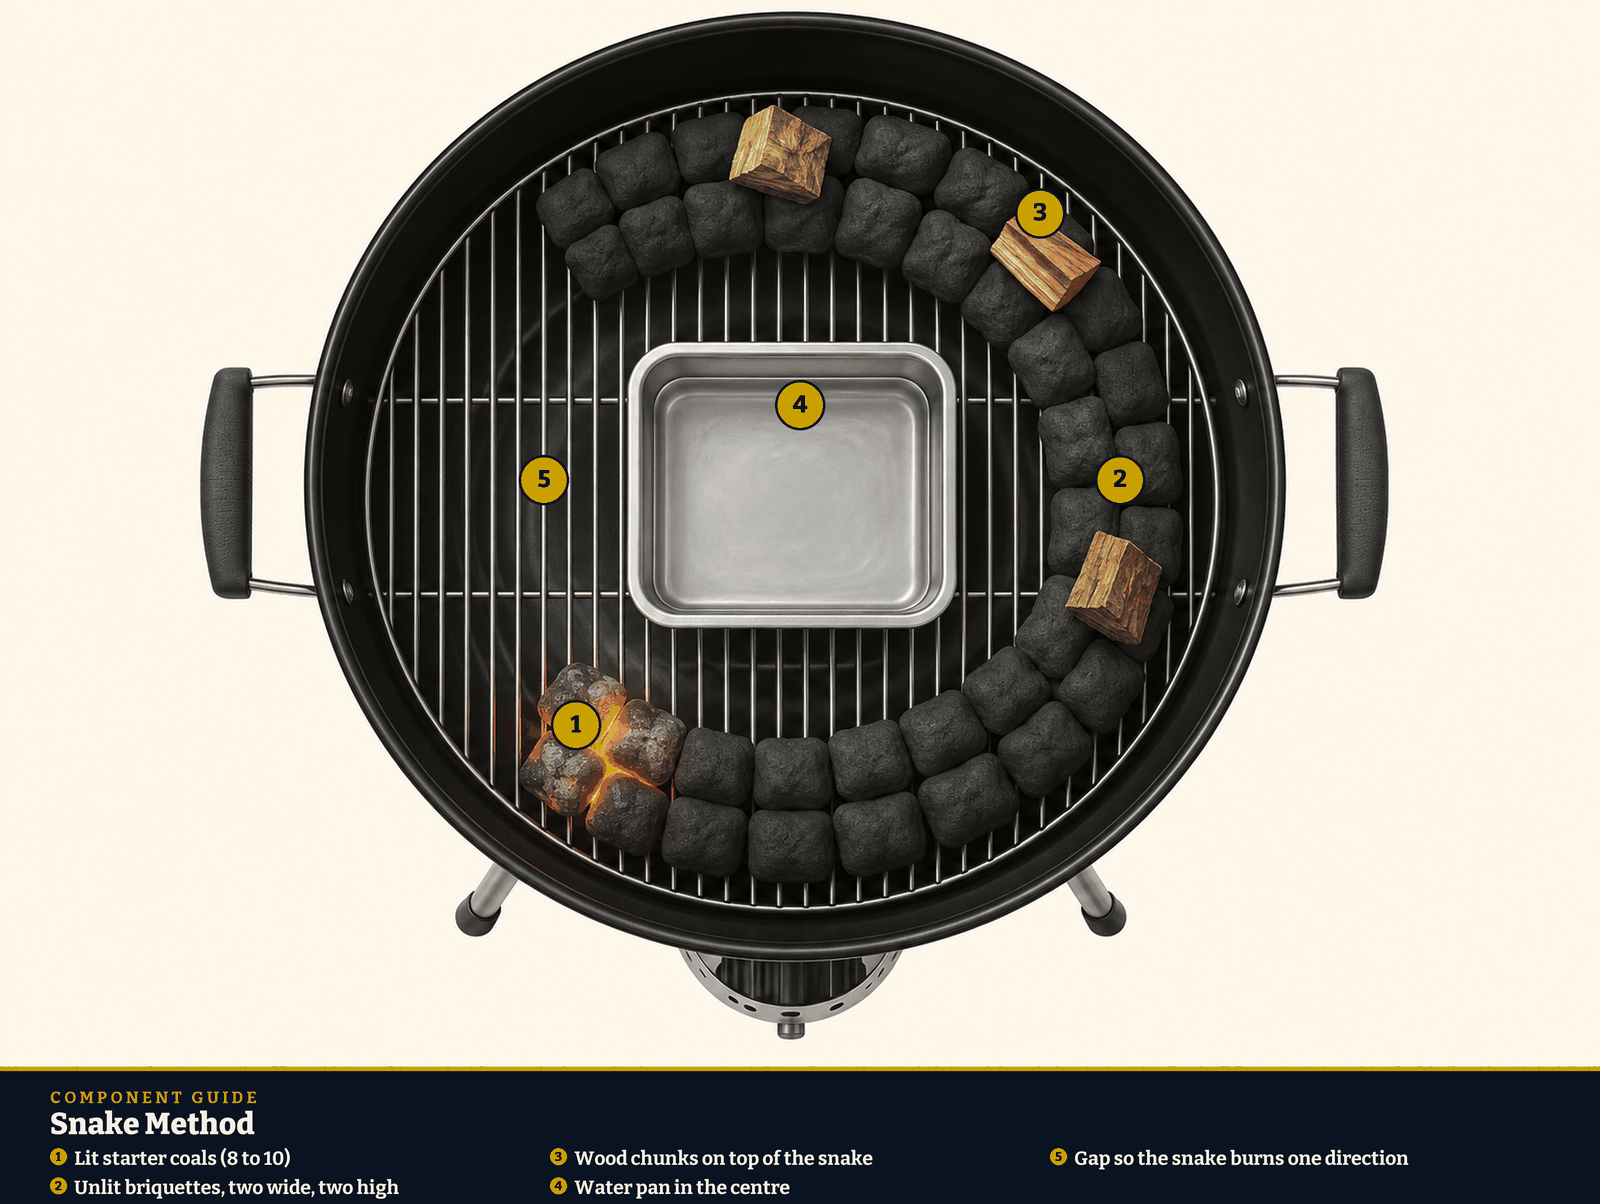
- Snake method: briquettes in a C-shape for extended low-and-slow cooks up to 6 hours
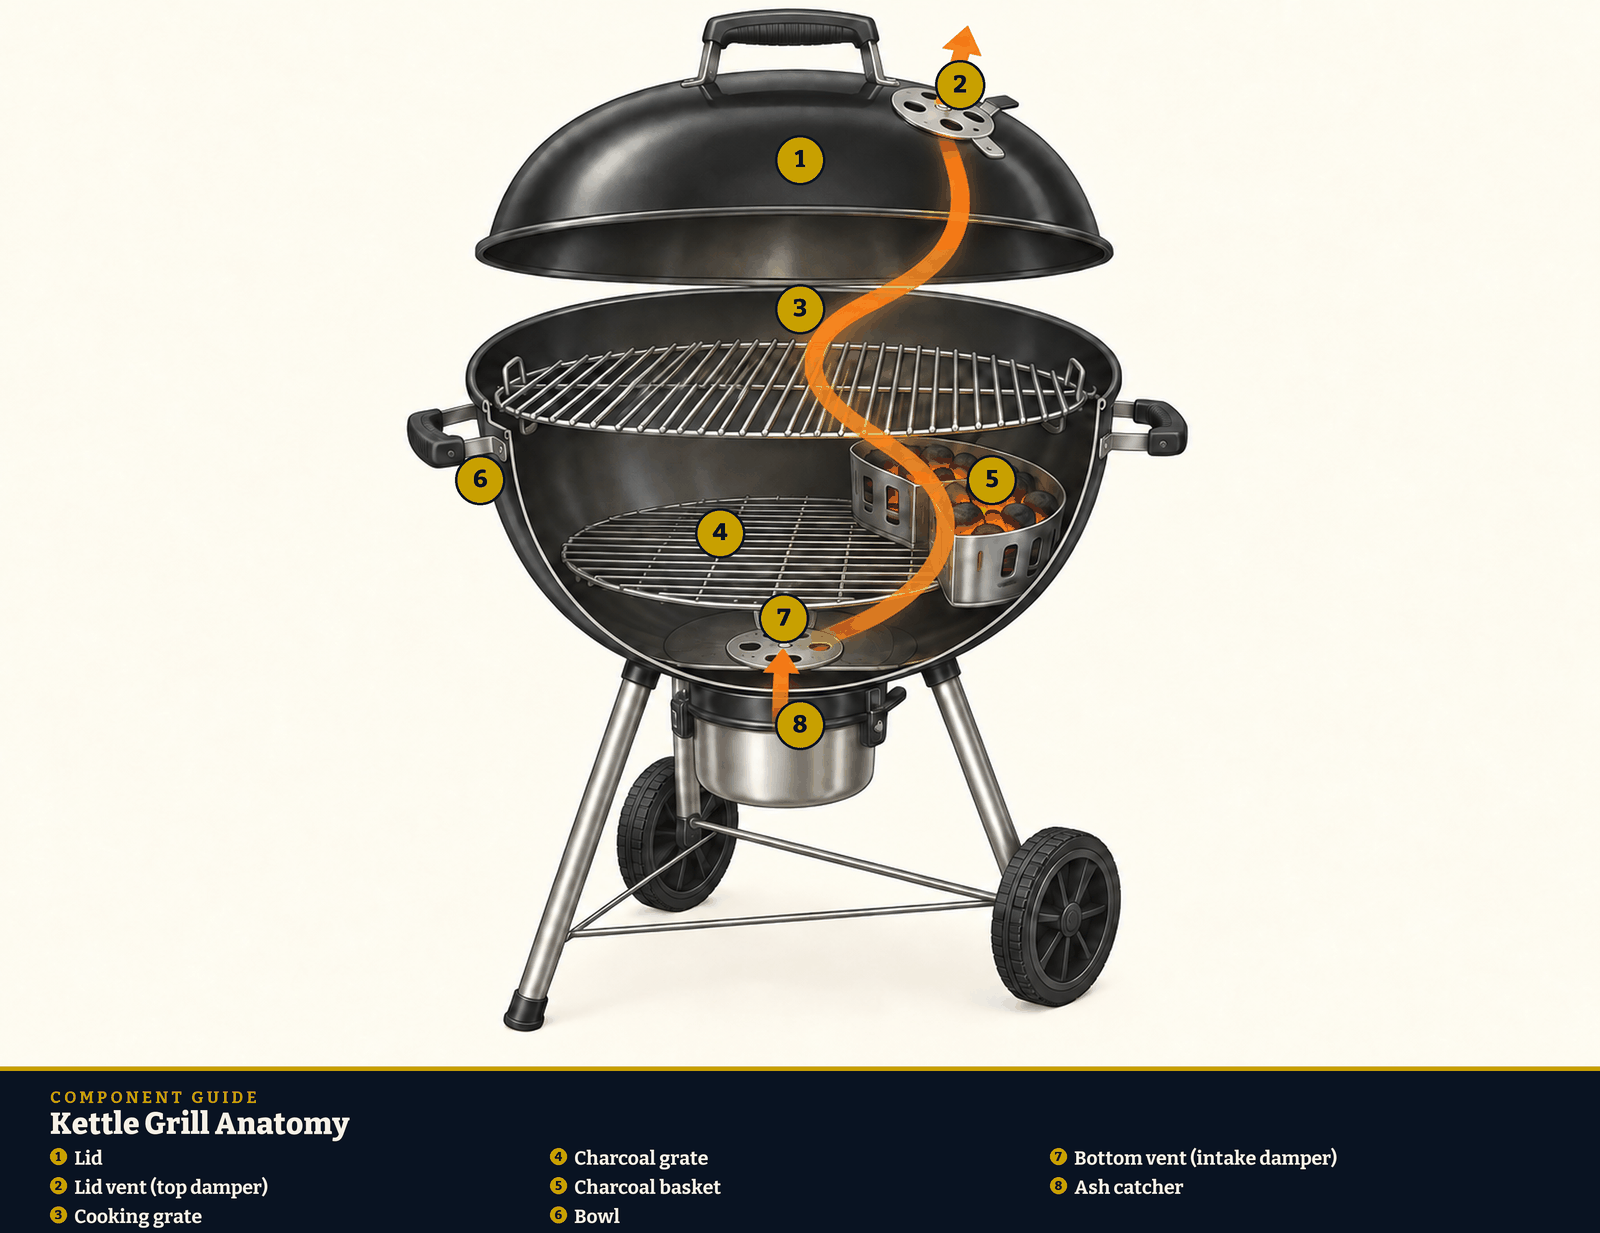
- Venting: bottom vent controls heat, top vent stays mostly open
- Water pan: adds moisture and acts as a heat buffer for longer cooks
- Lid vent position: placing it over the food pulls smoke across the meat
Put It Into Practice
- For indirect or smoking setup: push all lit coals to one side of the charcoal grate. Place a drip pan with water on the empty side.
- Add wood chunks directly on top of the coals for smoke flavor.
- Place the cooking grate on and position the lid with the vent holes directly over the meat — this pulls smoke across the food on the way out.
- For the snake method: arrange briquettes in a C-shape around the charcoal grate perimeter. Light one end only. The snake burns end-to-end for 4-6 hours.
- Set the bottom vent to 25-50% open. Adjust to hit your target temperature and leave it alone.
- For searing: move the meat directly over the coals for the final stage. Lid off or cracked open.
Mr. B's Pitmaster Note
The kettle's most underused feature is the lid vent position. Rotating the lid so the vent is directly over the meat (not over the coals) creates a draft that pulls smoke across the food rather than letting it escape straight up from the coal side. This small change makes a noticeable difference in smoke flavor.
Use your equipment manufacturer's instructions, keep the cooker outdoors on a stable noncombustible surface, and verify food temperatures with a calibrated thermometer.