Home / Free Guides / Weber Kettle Setup & First Fire
Free Guide · New Grill Day

The Weber Kettle Setup & First Fire Guide

Everything between the last bolt and a grill you can actually cook on

Built for the 22" Weber kettleRead online — no download neededUSDA-verified temps
A matte black charcoal kettle grill standing on a patio at golden hour, lid closed, with a thin wisp of smoke rising from the top vent.
The 22" Original Kettle Stealth Edition, assembled and ready for its first burn-in fire.
Straight Talk From The Build

Before You Light Anything

I put a brand new matte black Weber kettle together this week, and I did it the way half of you are going to do it — without the instructions in front of me. I've built these before. I figured I could eyeball it. Weber had changed a few things since the last one, and about thirty to forty-five minutes later I had a grill, a lesson, and the idea for this guide.

Weber's assembly sheet is fine at what it does. It gets the bolts in the right holes. Then it stops, and it stops well before you have a grill you can cook on with any confidence. Nothing in that box tells you where to put the thing, whether you need to break it in, how much charcoal a target temperature actually takes, or which of those two dampers is doing the real work.

That's what this guide is — not a re-run of the manual, the part that comes after it. Watch the full build: Matte Black Weber Kettle Assembly & First Look on the Backyard BBQ-R channel.

Lay It All Out First

The Assembly Steps That Actually Matter

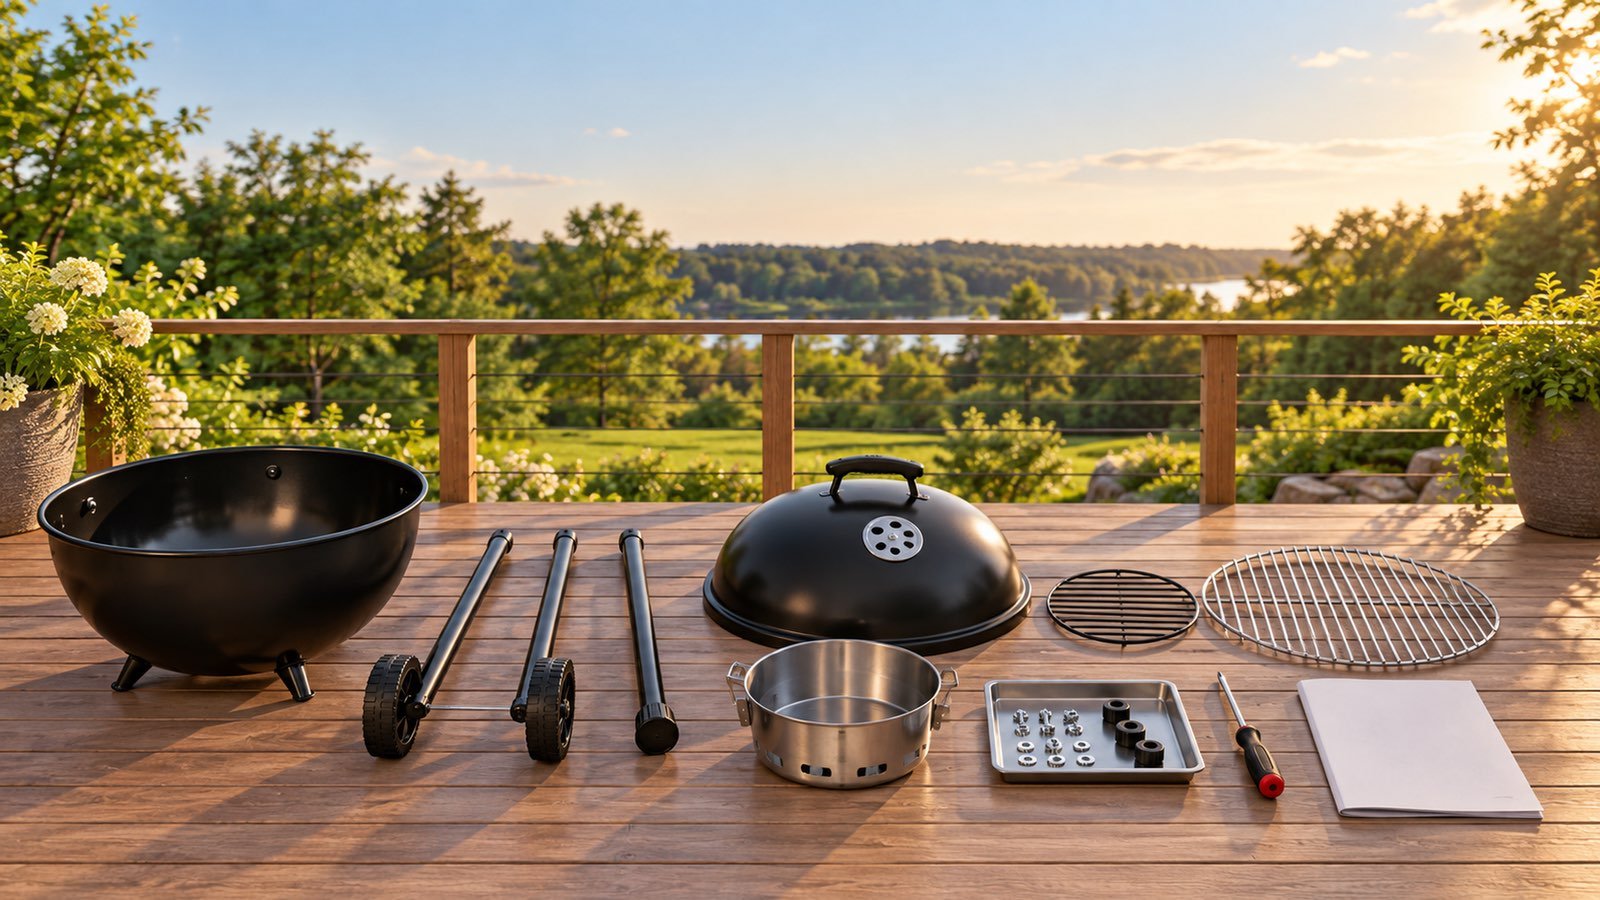
Sixteen parts come out of that box, and most of them go together exactly how you'd guess. Lay every one of them out on the ground before you turn a single bolt. It takes four minutes and it saves you from discovering a missing hub cap when the grill is half-built and upside down.

Three steps carry more weight than the rest. Get these right and the rest is bolt-turning.

StepWhy it mattersWhat goes wrong
Seat the triangle before tightening the legsThe triangle squares the leg assembly and must be fully home before anything gets torqued.The grill rocks. Forever. Can't be fixed without pulling the legs back off.
Clip the ash catcher on squareIt has to sit flush to seal and swing free when you empty it.A loose catcher spills ash — and ash under the bowl holds moisture, which is what kills a kettle.
Fit the lid handle heat shieldThat shield stands between your knuckles and a 400°F lid.It isn't trim. Skip it and you find out on your first cook.

Mine took about thirty to forty-five minutes building it blind. With the sheet in front of you it's faster — Weber doesn't publish a time, so don't hold yourself to mine.

Charcoal kettle grill components laid out in neat rows on a garage floor before assembly, including legs, wheels, both grates, the ash catcher and hardware.
Four minutes of laying parts out saves an hour of hunting for them mid-build.
What The Box Doesn't Say

Where You Put It Decides How It Cooks

A kettle breathes. The bottom damper is an air intake, and everything downstream of it — how hot it runs, how steady it holds — depends on the air it can pull. Placement isn't decoration. It's a setting.

Level ground first: if the grill rocks on a flat patio, that's the triangle, not the patio. Keep it well clear of siding, fences, deck rails and anything overhead. And get it out of the wind — a gusty corner turns the intake into a bellows and temperature control into a fight you didn't sign up for.

Fire Safety

Weber's own assembly documentation carries a warning almost nobody reads: if you use starter fluid, check the ash catcher before lighting. Fluid can collect down there and ignite below the bowl.

Simpler answer — don't own any. A chimney starter and a sheet of newspaper does the job better, faster, and without putting kerosene near your dinner.

Pitmaster Note

People spend two hundred dollars on a grill and then set it in the one corner of the yard where the wind comes around the house. Then they buy a thermometer, a temperature controller, a different bag of charcoal — trying to fix a problem that was never the grill. Move it six feet. That's the whole fix.

The Question Everybody Asks

Do You Have to Season a New Kettle?

Search this and you'll find people arguing about it on every barbecue board that's ever existed. Half say treat it like cast iron, half say don't bother, and both camps are sure.

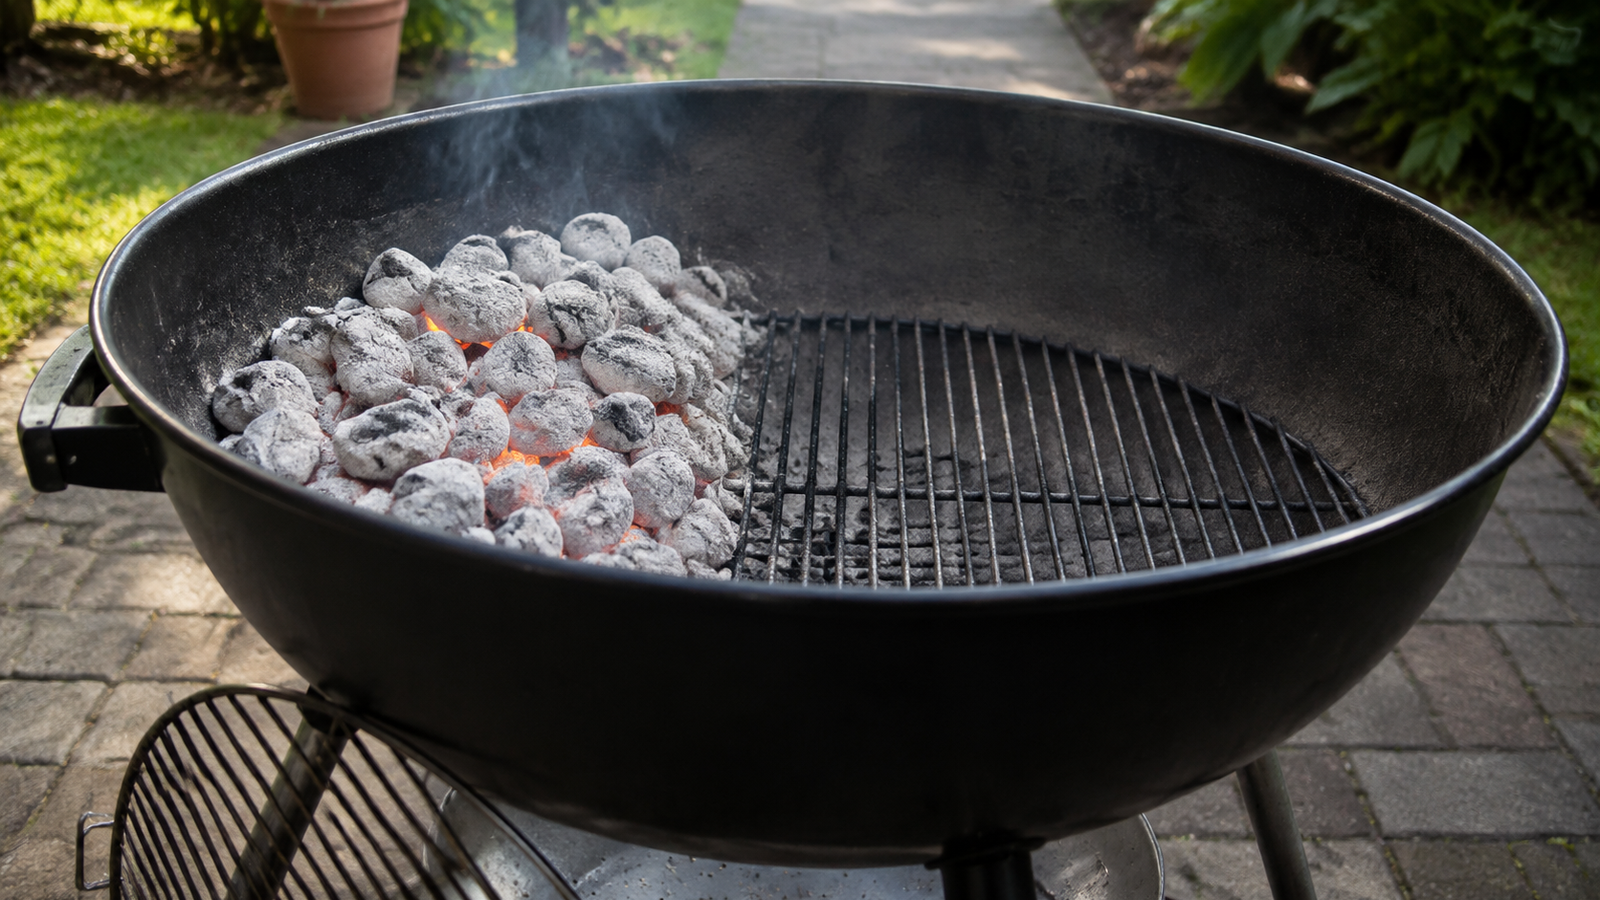
The practical answer: run one empty fire before you cook anything — full chimney, lid on, both vents wide, twenty to thirty minutes. Let it get properly hot, let it cool, wipe the grate down. That's it. You're burning off manufacturing residue and letting every piece of steel expand and settle where it's going to live.

What you're not doing is seasoning it. The bowl and lid are porcelain enamel, not cast iron. They don't take a seasoning layer and they don't need oiling.

The Half Everybody Forgets

Vents: The Part I Got Half Right on Camera

On camera I said the only thing I touch is the top vent. Set it and forget it. That's true — for me, on a grill I've run for years, on a fire that's already where I want it. It is not the whole system, and if you're new it will leave you stuck.

The bottom damper is the intake, and it sets your ceiling. If it's mostly shut, there is no adjustment up top that gets you to searing heat. The top damper is the fine tuning — about an eighth of a turn moves you ten to fifteen degrees. Then you wait twenty to thirty minutes before deciding it worked.

And the one that trips up new owners most: it's usually not the vents at all, it's the fuel. If you can't get up to temperature, you almost certainly don't have enough lit charcoal in there. Vents shape the range. Fuel sets it.

TargetTop damperBottom damperCharcoal approach
225–250°F (low and slow)1/8 to 1/4 open1/8 to 1/4 openA few lit coals over a large unlit bed
350°F (roasting, kebabs)About 1/2 open1/2 to 3/4 openA substantial lit bed, banked to one side
450°F+ (searing)Wide openWide openFull lit chimney, spread or banked deep

Start closer to closed and open up — raising a temperature is easy, bringing one down once the fire is roaring is slow. These are starting points, not settings: they shift with weather, charcoal brand, fuel quantity and the individual grill, and startup behaviour varies by model, so follow your own grill's manual.

Build It This Way From Day One

Two-Zone Is the Default, Not the Advanced Move

Most people building their first charcoal fire pour the whole chimney across the grate, spread it flat and light it up. Then something browns faster than they planned and there's nowhere to move it.

Bank the coals to one side. Leave the other side empty. That empty side is the single biggest save available to a new charcoal cook, and it costs nothing.

  1. Chimney start, and wait. Ready means fully ashed over — grey, not black, glowing underneath. Cooking before that is why a first cook tastes like lighter fluid.
  2. Pour to one side only. You want a hot side and a genuinely cool side, not a warm grill.
  3. Sear over the coals. Lid off, direct heat, get your colour.
  4. Finish over the empty side, lid on. Convection does the rest, with a margin for error direct heat doesn't give you.
  5. Put the top vent over the food. Air enters underneath, crosses the coals, exits above what you're cooking — that's how you pull heat where you want it.
Cook To A Number

Food Safety on a New Grill

New grill, new fire behaviour, no feel for it yet — exactly when people undercook things trying to be careful with a fire they don't trust, or overcook things guessing at a timer. Neither is necessary.

The thermometer in the lid reads the air temperature inside the dome. It's useful for managing the fire and it is never a doneness tool for food. Get an instant-read and put it in the thickest part.

FoodUSDA safe minimumPull / notes
Poultry — all forms165°FThighs better at 170–175°F; above the minimum, so fine
Ground beef, pork, lamb160°FIncludes most beef or pork sausage
Poultry sausage165°FIt's poultry — same rule
Whole beef, pork, lamb145°F + 3-min restThe rest is part of the standard
Fish and seafood145°FOr until opaque and it flakes
ShrimpOpaque and firmThey go fast — watch them
Leftovers, reheated165°F 
Hot holding140°F or warmerVerify it stays there for the whole hold
Brisket, shoulder, ribs195–205°FTexture target, well above the safe minimum

Kebabs and everything else come off at a temperature, not at a timer. Ten to fifteen minutes is an estimate for planning — the thermometer is the answer.

How I Got It Wrong

Cleaning: The Correction I Owe You

In the video I say the cooking grate is stainless steel and that you can put it in the dishwasher. Both are wrong, and I'd rather fix it here than let it ride.

Weber's own guidance is that cooking grates should never go in the dishwasher — the hot steam damages them. Hand wash with warm water and a non-citrus soap if you're washing at all. Most weeks you won't need to: get the grill hot, let the leftovers burn off, brush it while still warm. And the 22" Stealth Edition ships with a plated-steel cooking grate, not stainless.

For the rest: ash out after every cook once cold, because ash holds moisture and moisture is what rusts a kettle from the inside. Nothing abrasive on the exterior — porcelain enamel, so no wire brush and no harsh chemical cleaners. Weber publishes no matte-specific care instruction, so I'm not going to invent one.

The Ones I See Every Time

Five First-Timer Mistakes

Before You Go

Your First-Fire Checklist

When You're Ready to Stop Guessing

This guide gets you from a box to a grill you can trust. The premium guide picks up where it stops — the full charcoal arrangement library with fuel counts, the four-lever method for holding a temperature across a long cook, weather and wind adjustments, a troubleshooting table, rub and brine formulas, a maintenance calendar, and three printable pit tools.

View Premium Guides →