Home Start Here Pitmaster Videos Recipes Free Guides Premium Guides Newsletter About Contact
Back to Free Guides
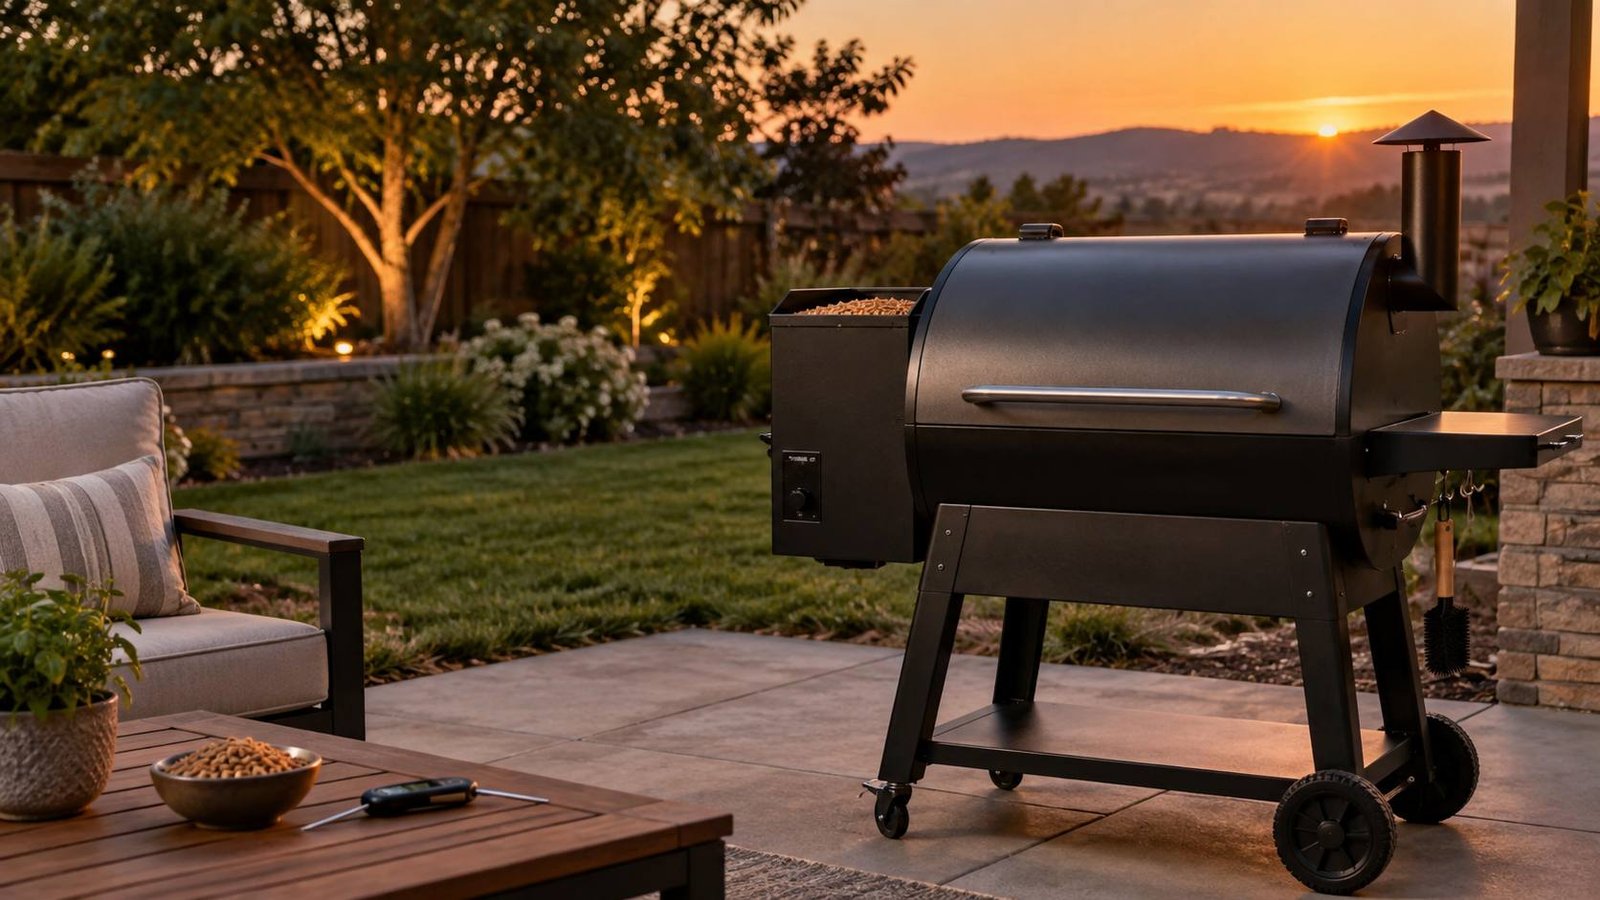
A Traeger pellet grill on a backyard deck with pine trees in the background, cover art for The Traeger Buyer's Cheat Sheet
STRAIGHT TALK FROM THE STORE

Before You Spend a Dime

The Traeger Buyer's Cheat Sheet — Which Model Fits Your Backyard

I walked a whole Traeger wall with my buddy so you don't have to guess. These grills are simple to run — plug it in, set a temp, let the wood work — but the price tags jump from about five hundred to nearly two thousand dollars, and the salesfloor won't always tell you what's missing from the box. This is the honest version of that walkthrough: which tier fits your backyard, what quietly costs extra, what every knob does, and how to run your first cook without a surprise.

STEP ONE — PICK YOUR TIER

The Traeger Lineup by Price

The number on the tag is mostly about cooking space and features — not whether it makes good food. All of these are at Home Depot, and prices dip around Black Friday. Here's the wall, smallest to biggest:

  • Portable / tabletop — the smallest and most affordable. Perfect for one or two, or tossing in the truck for a tailgate — but too tight to feed a crowd.
  • Mid-size — the popular middle of the wall. More grate space and features, and the tier most first-time hosts end up happy with.
  • Full-size — serious cooking space for parties and long cooks. Room to run a brisket with the sides right alongside it.
  • Premium glass-top — the top of the line. The highest heat for grilling and baking, plus the biggest hopper for all-night cooks.

The chart on the next page lays the whole wall out side by side — sizes, features, and the price jumps between them.

If you only take one thing from this table, take this: buying too small is the regret I hear most. A grate fills up fast the first time you host. If your budget is close, size up rather than down.

READ THE FINE PRINT

What's in the Box — and What Isn't

Here's where the store stays quiet. When I priced the mid model at around a thousand dollars, I found out the handy side shelf — that little fold-out plate you set tongs and platters on — is sold separately on several models. The pellet-level sensor that reads your hopper from the Traeger app is usually an add-on too. Budget for these up front so the real price doesn't sneak up on you.

  • Side shelf / front table — often not included; you unclip a cover and mount it. Worth it for elbow room.
  • Pellet sensor — an accessory that reports hopper level right in the Traeger app, so you're not lifting the lid to check. Great if you run long cooks.
  • Grease management latch — newer setups have a latched keg/tray that catches drippings cleanly. If yours doesn't, plan a quick modification — it saves you from scrubbing baked-on grease later.
PITMASTER NOTE

"I know if I spend a thousand dollars, something better happen." Add the shelf and the sensor to your mental price before you fall in love with a model. It's better to know the all-in number in the aisle than at the register.

NOTHING SHOULD BE A MYSTERY

The Buttons & Settings, Demystified

A Traeger looks intimidating with the lid up, but there are only a few controls that matter, and once you know them the thing basically runs itself. Here's the quick tour I gave on camera, front to back:

  • Igniter button — lights the fire pot. Press it during startup and let the grill come up to temp. Startup steps vary by model, so check your Traeger's manual for lid position.
  • Power button — self-explanatory, but always run the shutdown cycle so the auger and fan clear out; don't just yank the plug.
  • Temperature dial / controller — set it and the grill holds it. Smaller models read simple (say, up to about 400°F); the big glass-top runs to 500°F for grilling and baking.
  • Pellet dump knob — that twist knob is your 'exit stage right' — turn it and the pellets pour out, so keep a bucket underneath. It's how you swap flavors or empty the hopper.
  • Utensil hooks (rear) — hang your tongs and brush there so they're not living on the grate.
  • Hopper — holds the pellets that feed the fire. The big models hold around 24 lbs, which is plenty for a long cook.

The magic phrase is "set it and forget it," and it's mostly true — but mostly is the key word. You still glance at your temp, your pellet level, and your food. A pellet grill also behaves like an oven: even in cold weather it fights to hold the temp you dialed, so don't panic when the wind kicks up.

FLAVOR STARTS HERE

Pellet Flavors 101

The wood is where a Traeger earns its keep, and the flavor wall can be overwhelming — oak and whiskey blend, maple, cherry, apple, hickory, charcoal, even collabs like Meat Church. My buddy's rule from behind the camera is the right one: start with a good all-rounder, then experiment. Here's a simple cheat for matching wood to what you're cooking:

PELLETFLAVORBEST FOR
Signature BlendBalanced, everyday wood-firedAnything — the safe first bag for beef, pork, poultry
HickoryBold, classic BBQTougher, bigger cuts — brisket, ribs, pork shoulder
Apple / CherryMild, slightly sweet, good colorPoultry, pork, adds a nice mahogany bark
MapleSoft and sweetChicken, veggies, bacon-y dishes
Oak / Oak & WhiskeyMedium, steady backboneAll-purpose smoking; a great house wood
Charcoal blendClassic char characterBurgers, steaks, that grilled-over-coals taste
PITMASTER NOTE

Asked my guy what to run for beef versus chicken and he kept it simple: Signature Blend or Hickory — Hickory for the tougher pieces of meat. Translation: buy what looks good, try it out, and trust your own tastebuds. You'll dial in a favorite fast.

COOK IT RIGHT

Food Safety at the Traeger

"Set it and forget it" applies to the grill, not to doneness. The temperature on your controller or app is the pit temperature — the air inside — not the temperature of your food. Always finish by internal temp with a good instant-read thermometer, and remember that a safe temperature and a tender-done temperature aren't always the same number:

FOODUSDA SAFE MINPULL / NOTES
Chicken & turkey165°FCheck the thickest part, away from bone
Ground meats160°FBurgers, sausage, ground turkey
Pork & beef (whole cuts)145°FPlus a 3-minute rest before slicing
Ribs / pork shoulder145°F safeTender-done ~195–203°F (safe ≠ done)
Leftovers / reheat165°FDon't leave food out over 2 hours
LEARN IT THE EASY WAY

Common First-Timer Mistakes

Almost every one of these I've either made or watched a friend make. None of them are hard to avoid once someone points them out — so consider this your heads-up before they cost you a cook.

  • Buying too small. The stubby portable is great solo, but you can't feed a crowd on it. If you host at all, move up a tier.
  • Forgetting the extras. People budget for the grill and get surprised by the shelf and sensor at checkout. Add them to your number up front.
  • Trusting the app temp as the meat temp. The app shows the pit, not the protein. Use a thermometer in the food, every time.
  • Letting pellets get damp. Moisture swells pellets and jams the auger. Store bags sealed and dry, off the garage floor.
  • Skipping grease cleanup. Baked-on grease is miserable to remove and a fire risk. Empty the keg and wipe the drain before each cook.
PRINT THIS PAGE

Your First-Cook Setup Checklist

Run this the day your Traeger arrives and your first cook will go smooth. Ten minutes of setup now saves you a headache mid-cook.

  • Assemble fully and confirm the grease keg/tray and drain are in place
  • Do the initial burn-in / seasoning run per the manual before any food
  • Fill the hopper with dry pellets (Signature Blend is a safe first bag)
  • Prime the auger so pellets reach the fire pot before ignition
  • Start up per your model's manual — lid position at startup varies; use the igniter and let it reach set temp
  • Set your target pit temp on the controller and let it stabilize
  • Connect the Traeger app if your model supports WiFIRE / a pellet sensor
  • Have an instant-read thermometer ready — you'll finish by internal temp
  • Keep a pellet bucket handy for the dump knob when swapping flavors
  • Empty and wipe the grease keg before and after the cook
  • Keep a spare bag of pellets on hand so you never run dry mid-cook
  • Plan for weather — cold or wind means longer cooks and more fuel
START HERE

Your First Three Cooks

Confidence comes from reps, not recipes. If you're brand new, run these three cooks in order — each one teaches you a little more about the grill before you tackle a big overnight brisket. Always finish by internal temp with a thermometer.

  1. Cook 1 — Chicken thighs or wings. Forgiving, fast, and the easiest way to learn your temps and the app. Pull at 165°F.
  2. Cook 2 — A rack of ribs. Your first real low-and-slow: practice holding 225–275°F and reading tenderness by feel (the bend test), not just the clock. Safe at 145°F, tender around 195–203°F.
  3. Cook 3 — A pork butt. The classic hands-off overnight cook a pellet grill is built for. Pull around 200–203°F for pulled pork, then rest it before shredding.
BEFORE YOU BUY — QUICK RECAP

Match the tier to how you cook — and size up if you ever host. Buying too small is the regret I hear most.

Budget the all-in price — the side shelf and pellet sensor are often sold separately.

Learn the four controls — igniter, power, temp dial, and the pellet-dump knob (keep a bucket under it).

Finish by internal temp — the app shows the pit temperature, not your food. Use a thermometer, every cook.

WANT MORE?

Take It Further

If this cleared up the buying decision, the next step is learning to truly run the thing. Our premium guide, the Pellet-Grill Mastery Guide, picks up where this leaves off — dialing temps in any weather, squeezing more smoke flavor out of every cook, a full wood-pairing system, a maintenance schedule that keeps your grill running for years, and a troubleshooting section for when something acts up. Catch the full video review on the channel, and find every guide and resource at www.backyardbbqr.com. Come cook with us.

— Mr. B, Backyard BBQ-R

Run it yourself and let Mr. B know how it goes.