Smoker Setup Lesson
Pellet Grill Setup
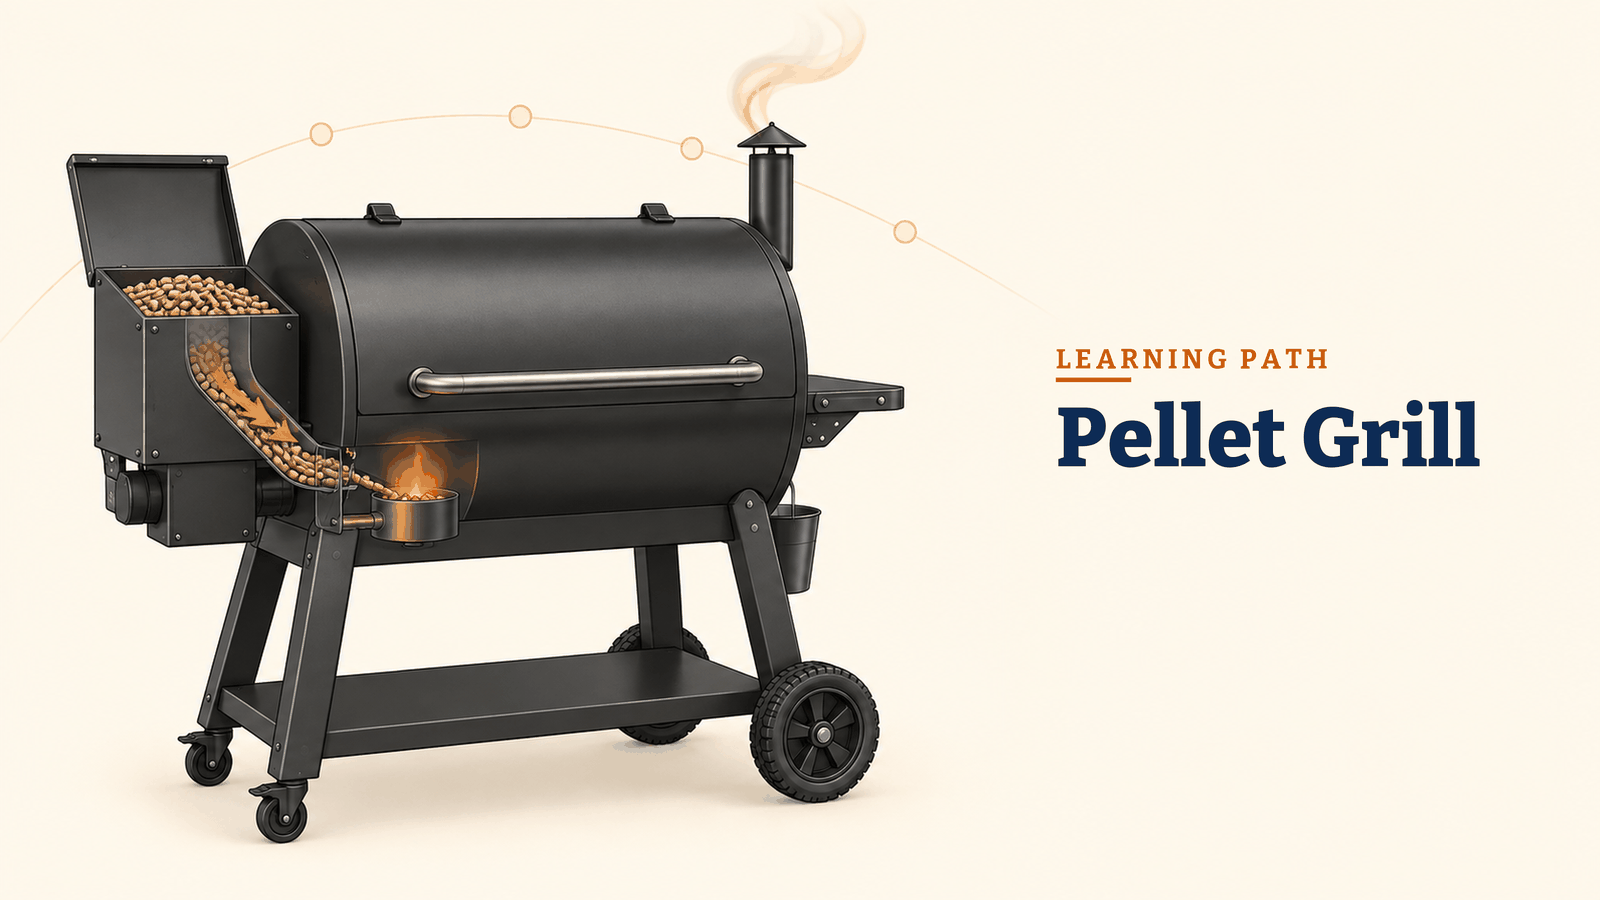
A pellet grill runs the fire for you, but it only cooks as well as you set it up. Learn how to fill, prime, preheat, and dial in real smoke on a pellet grill.
LevelBeginner
Learning PathSmoker Setup
Lesson17 of 24
Key Concepts
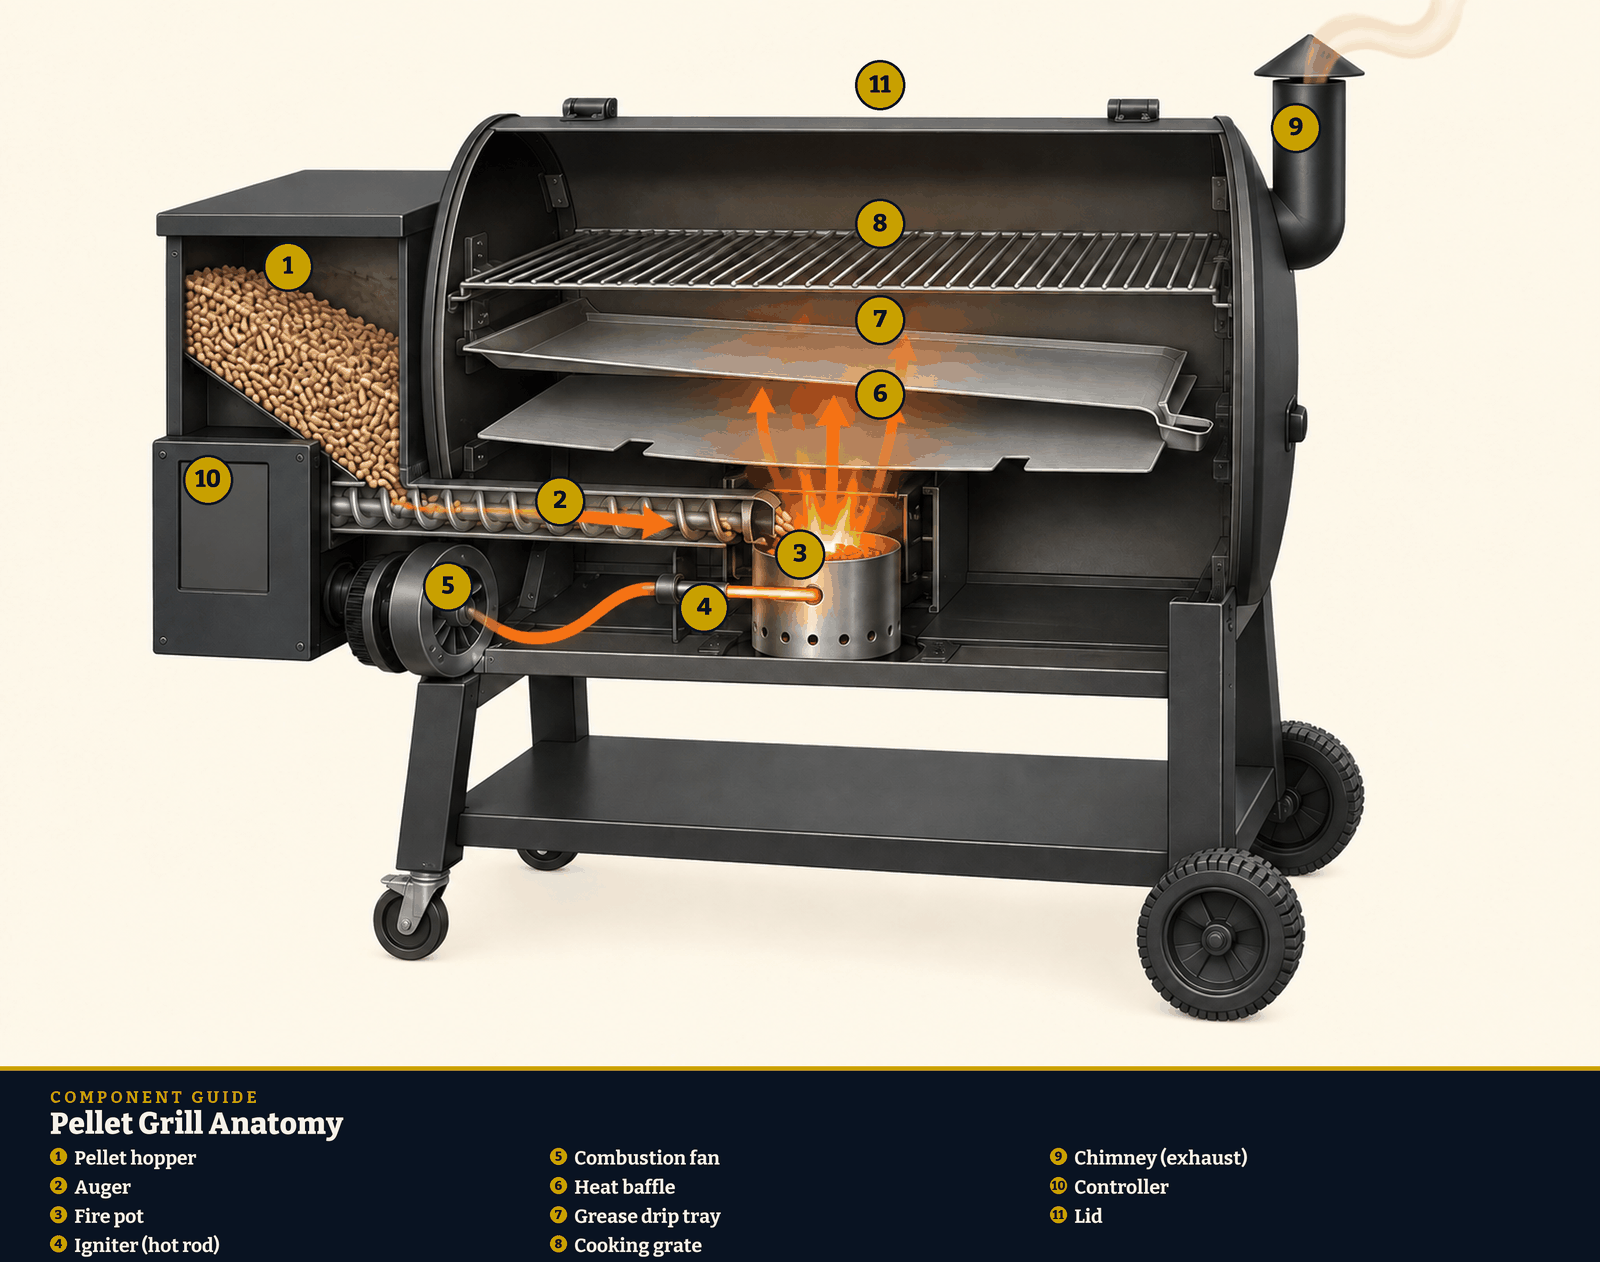
- The controller holds the temperature; the auger, fan, and fire pot do the work
- Pellets are the fuel and the flavor: keep them dry and match the wood to the meat
- Low settings make more smoke: 180-225°F for smoke, 350°F and up for roasting and searing
- The heat baffle and drip tray make the whole grate indirect, so there is no hot zone unless you make one
- A clean fire pot and an empty grease tray prevent flameouts and grease fires
Put It Into Practice
- Check the hopper: fill it with fresh, dry pellets and dump any that sat through rain or humidity.
- Prime the auger on first use or after running empty until pellets drop into the fire pot.
- Start on Smoke or the lowest setting with the lid open until the fire lights and the white startup smoke thins out.
- Close the lid, set the target temperature, and preheat 10-15 minutes before food goes on.
- Place meat in the middle of the grate. The ends run hotter on most pellet grills.
- Vacuum the fire pot every 3-4 cooks and pull the grease tray after every long cook.
Mr. B's Pitmaster Note
Pellet grills make less smoke flavor than a charcoal or offset pit at the same temperature. Run the first hour or two at 180-225°F while the meat is cold and taking on smoke, then bump the temperature to finish. A smoke tube on the grate adds more if you want it.
Use your equipment manufacturer's instructions, keep the cooker outdoors on a stable noncombustible surface, and verify food temperatures with a calibrated thermometer.